While my mom was a darn good cook she didn’t do a lot of baking. It just wasn’t really her thing. So most of what I learned about baking I learned on my own. With a good old fashioned Betty Crocker book in hand, I explored, trying this and trying that and failing miserably and trying again.
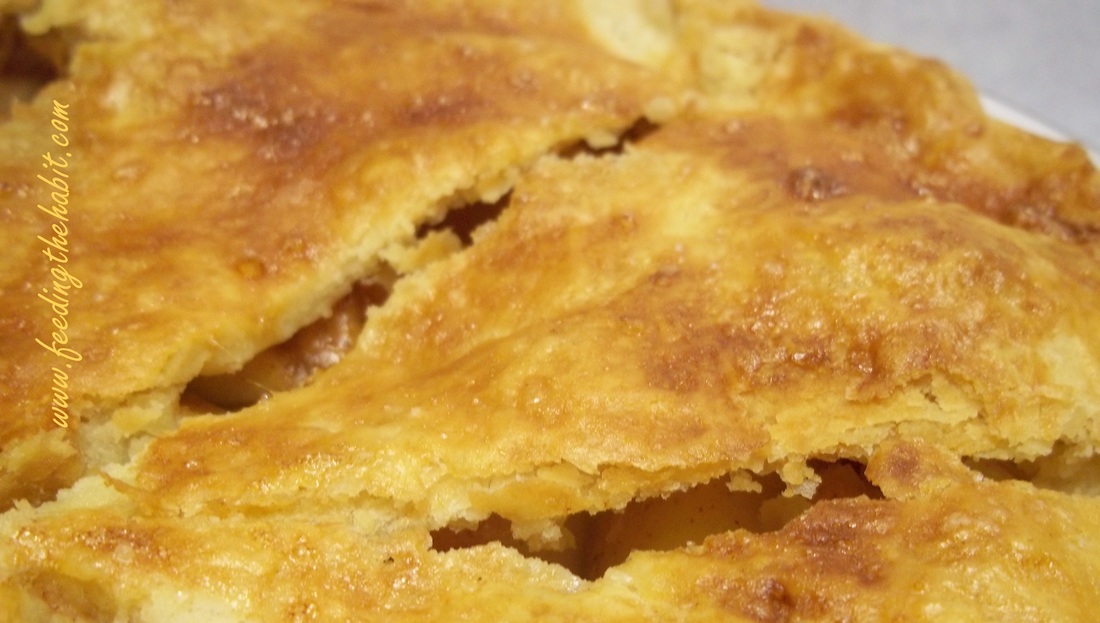
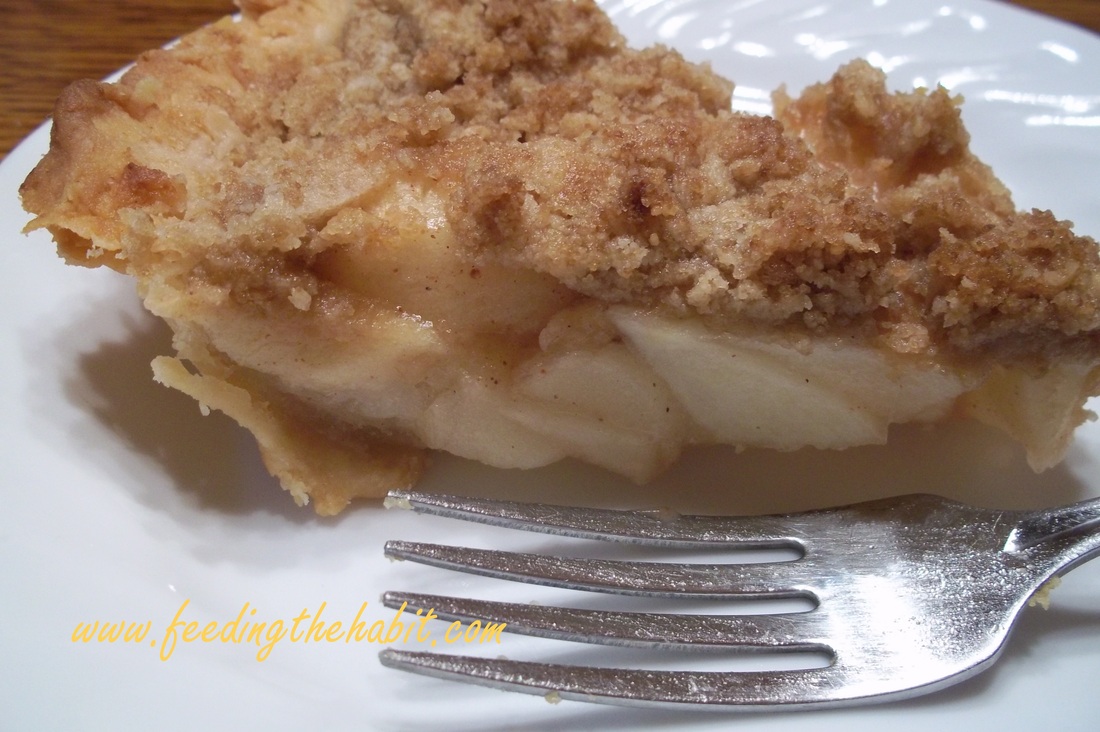
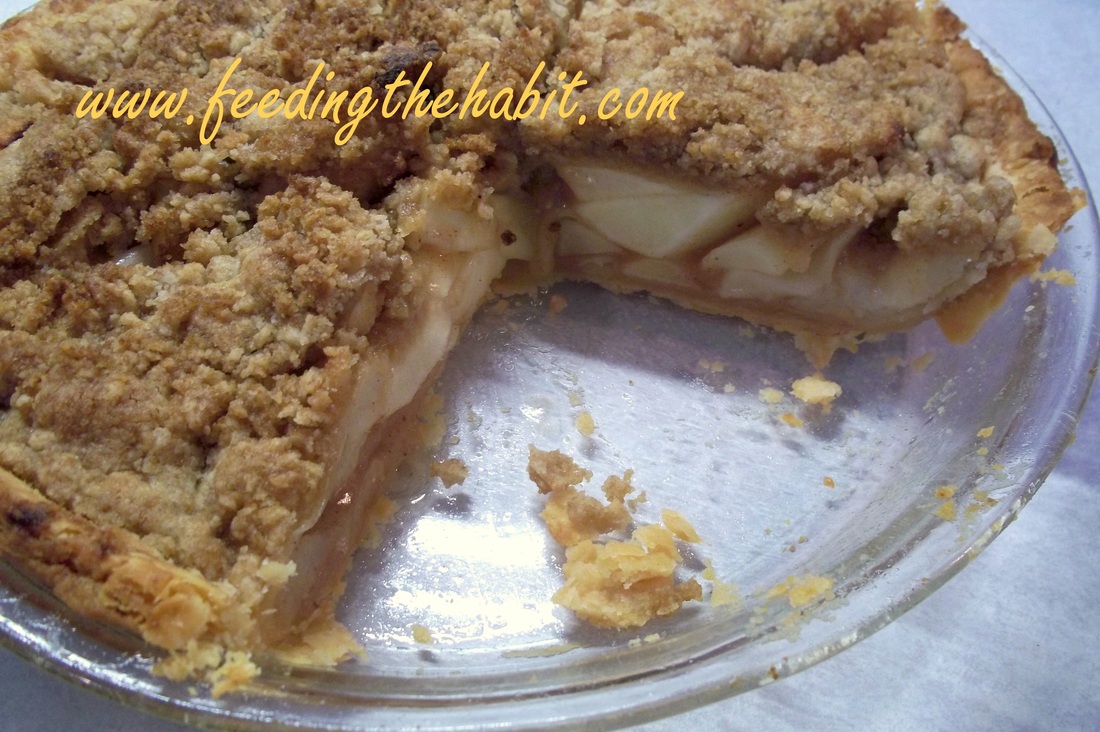
While I still use the basic apple pie recipe I found in that old book I’ve tweaked the process and added a newly re-discovered secret crust to it. Think of the best piece of pie you’ve ever had…it was probably made by your grandma or some other little old lady who knew how to use the best ingredients. And that best ingredient included lard that she probably rendered herself.
Now mind you, I didn’t develop this crust recipe myself. I’m simply not that creative in the kitchen. About a year ago I picked up a book from the public library called “Lard: Cooking with Your Grandmother’s Secret Ingredient.” What a great book! I’ve gotten several really good recipes out of it but none are better than that pie crust recipe.
Throughout the years I’ve learned a few additional tips that making pie making a little more fun and the results oh so tasty.
So let’s begin shall we?
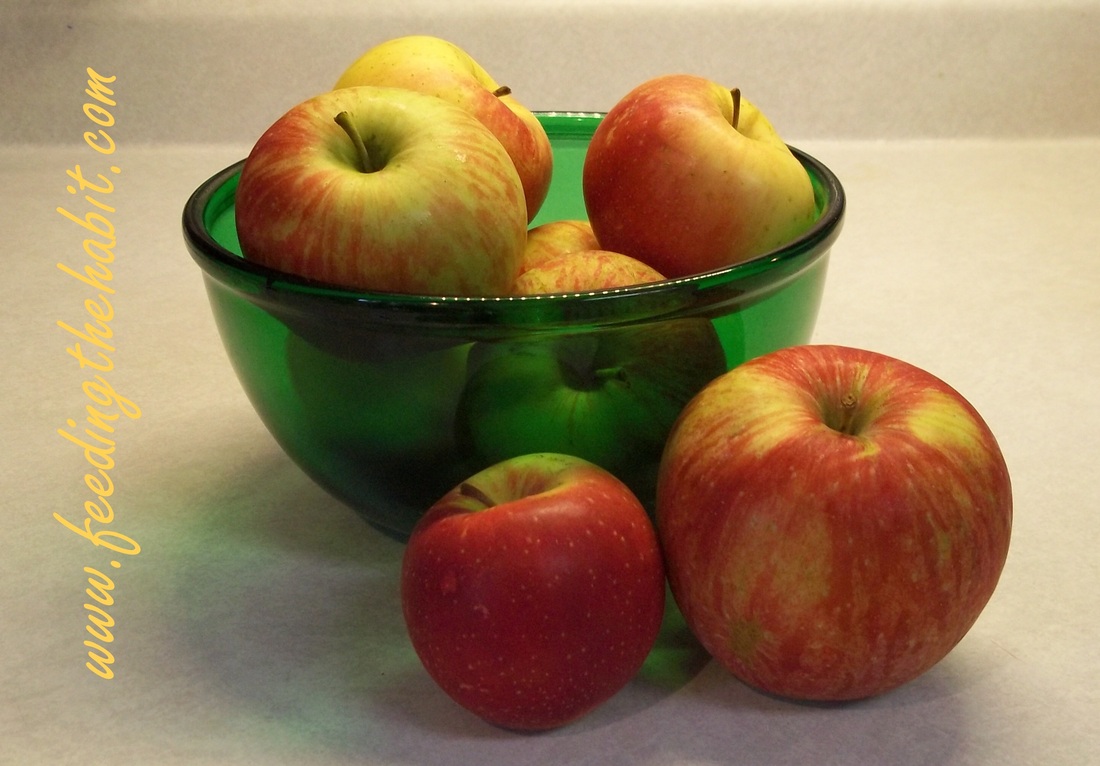
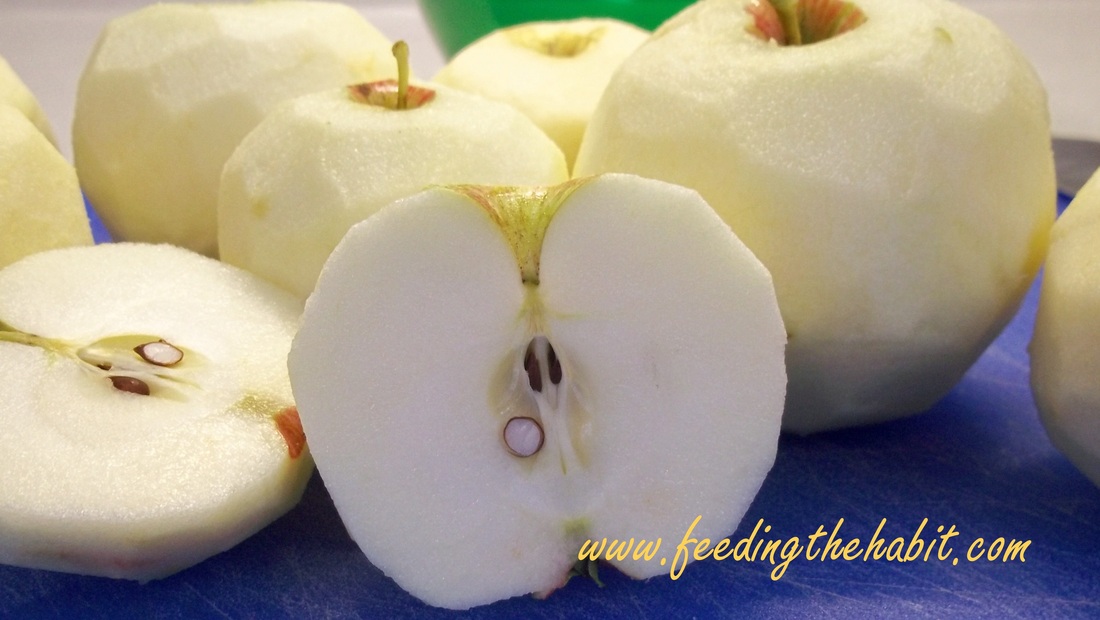
Use more than one variety of apple. When buying locally ask the grower what type they recommend. They’re the experts, they should know. If you’re buying apples in the off season from the grocery store, there are often little signs near the apples that explain which are best for certain uses.
For this pie, I used Harlson's, Honeycrisp and a variety from the Minnesota Landscape Arboretum called 1914.
6-8 cups of sliced apples
½ to ¾ cup sugar (sweeten to taste)
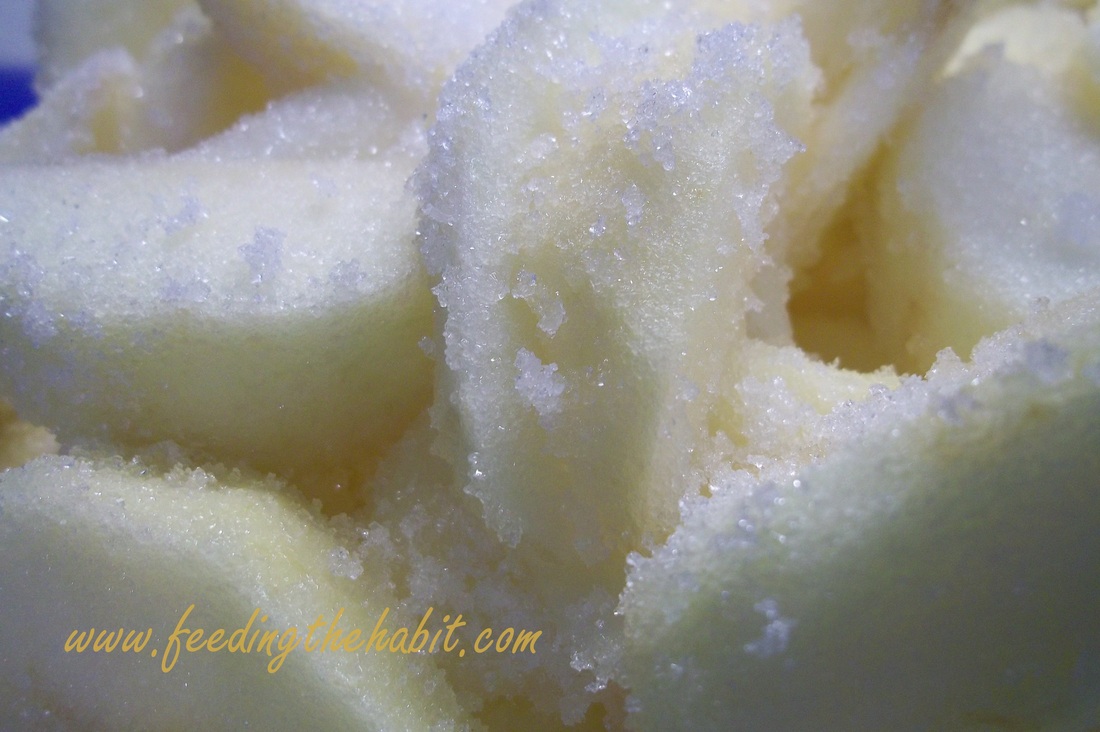
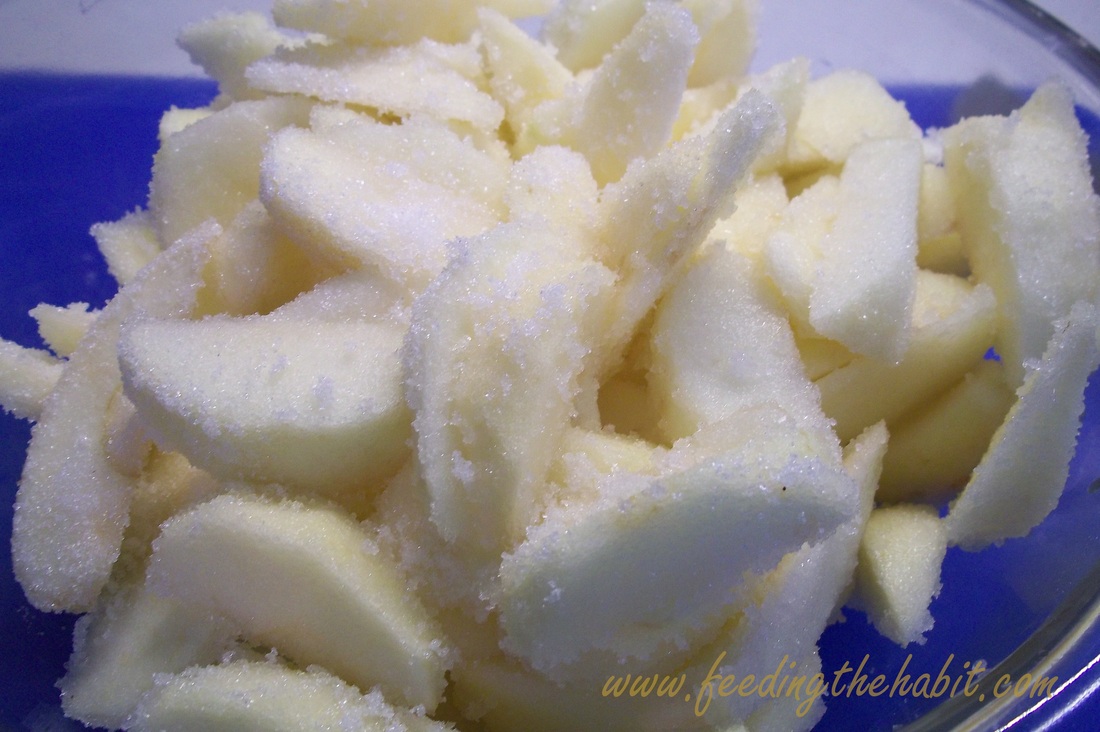
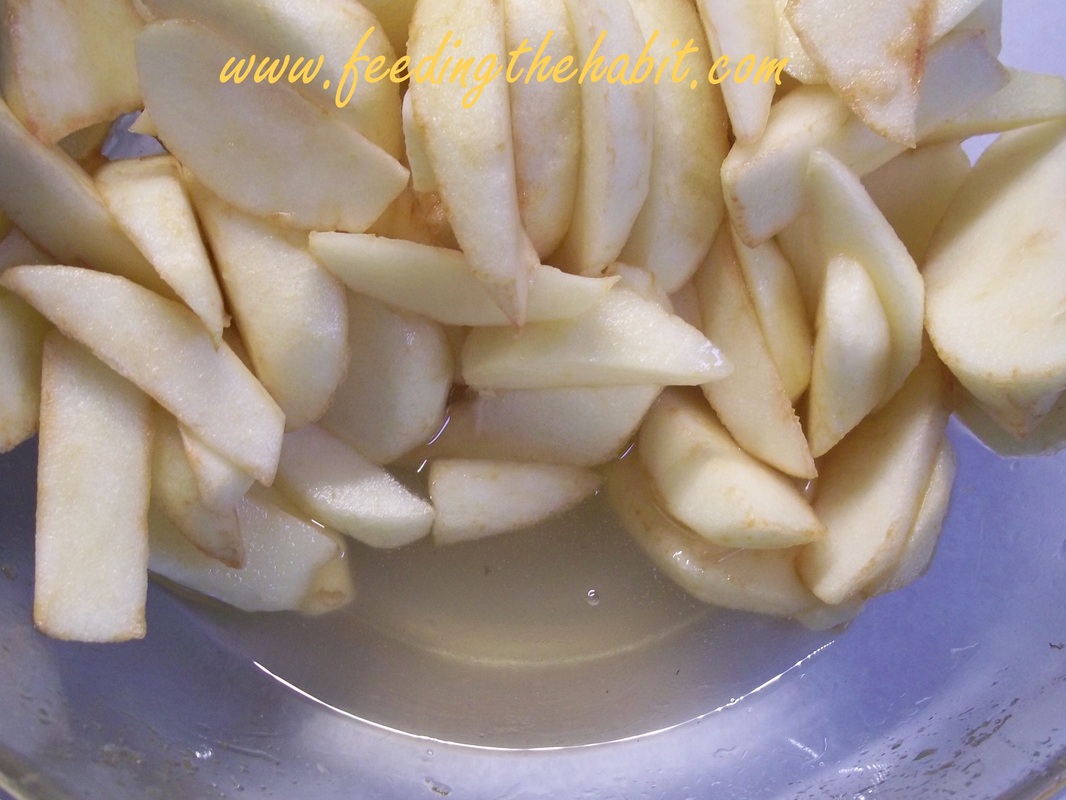
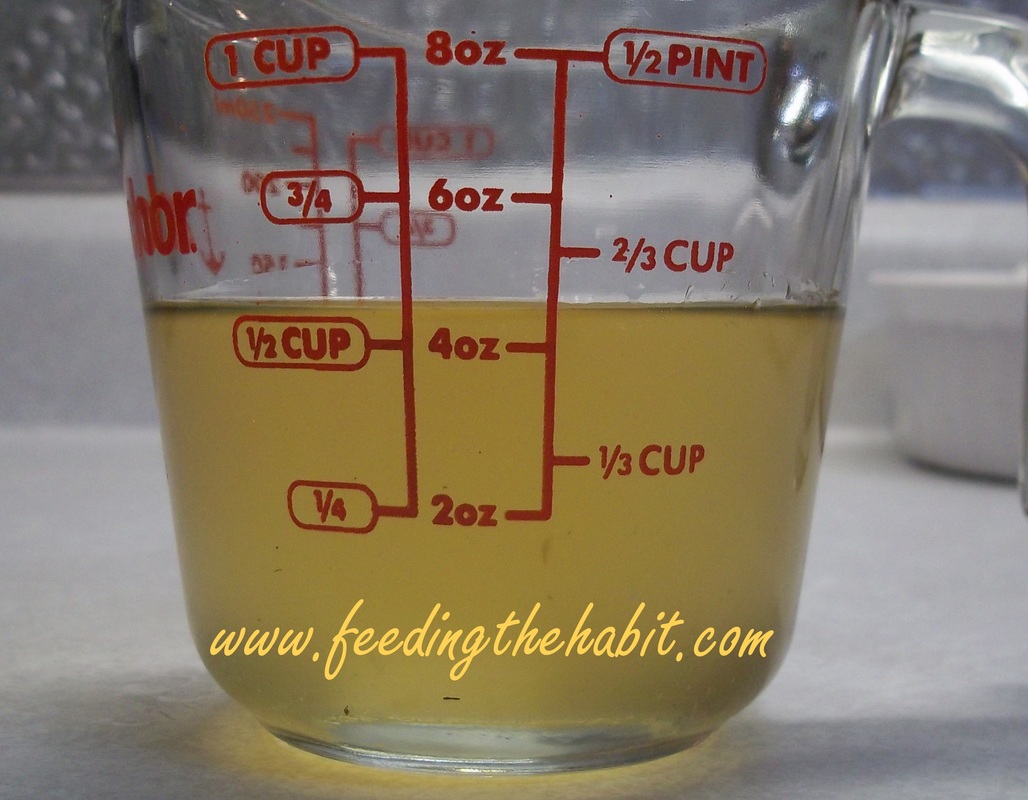
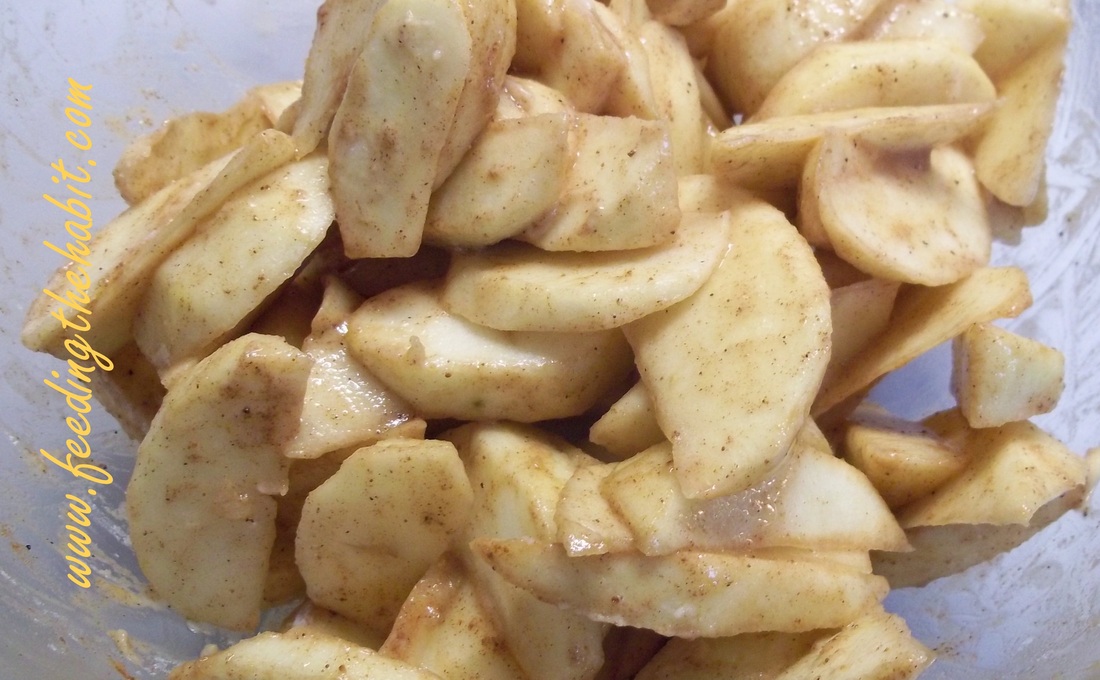
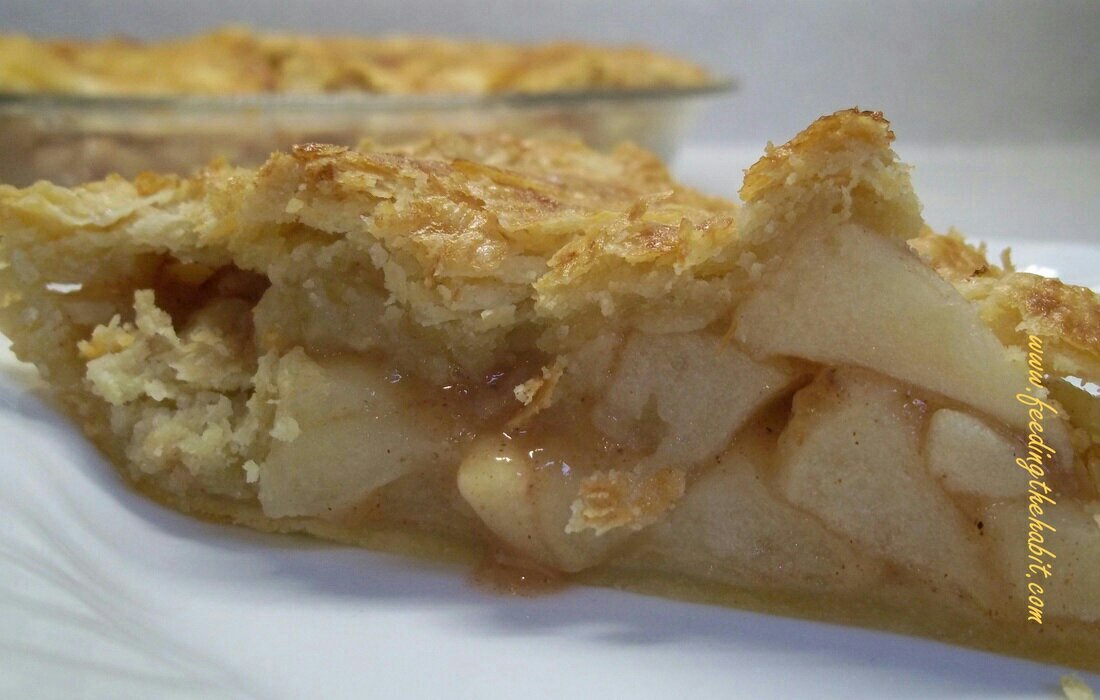
In a large bowl, mix the apples with the sugar and set it aside for at least one hour. The sugar will help release some of the juice from the apples. And before we add anything else or dump them in the pie, we’re going to drain off those juices. Why? Well have you ever had a mushy, soggy pie? Gross, isn’t it? That’s all that extra juice just lounging around in your pie. Let's go ahead and get rid of that right away. Your apples still retain enough juice even after you drain the excess off.
Mix together and set aside:
¼ cup flour
½ tsp cinnamon
½ tsp nutmeg
Dash of salt
While the sugar and apples are doing their thing, let's get started on the crust.
Lard Crust
3 cups all-purpose flour
1 teaspoon salt
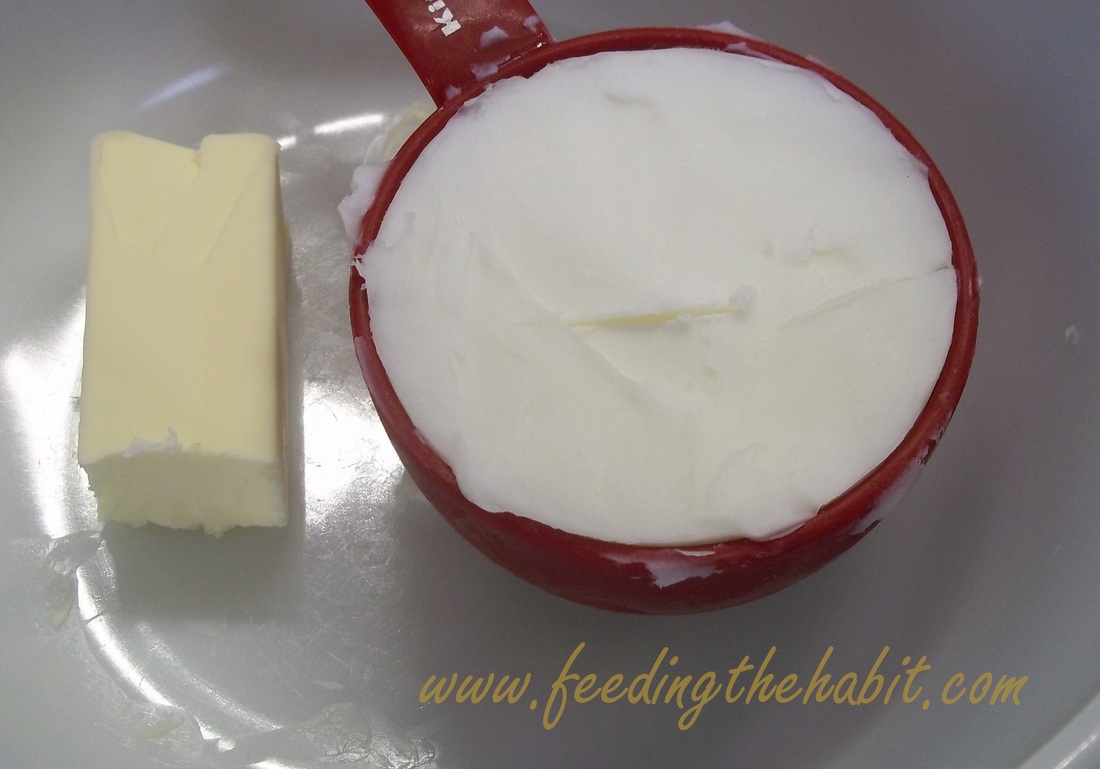
1 cups frozen lard
¼ cup frozen butter
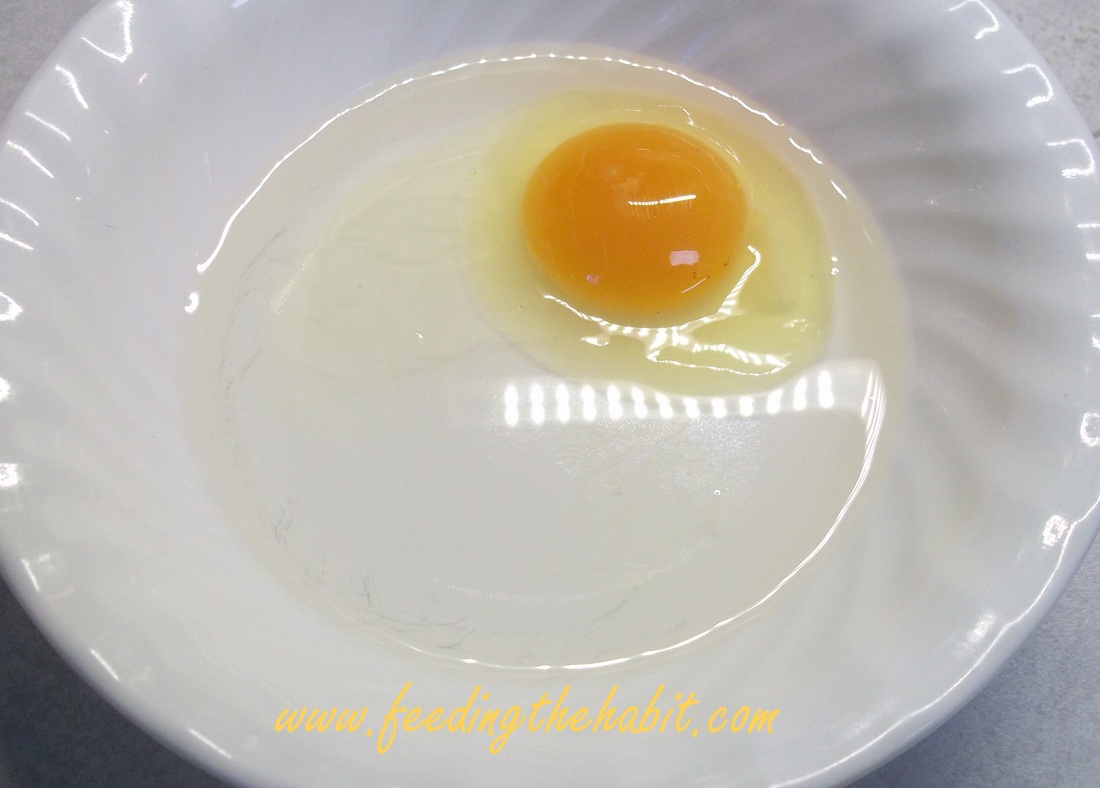
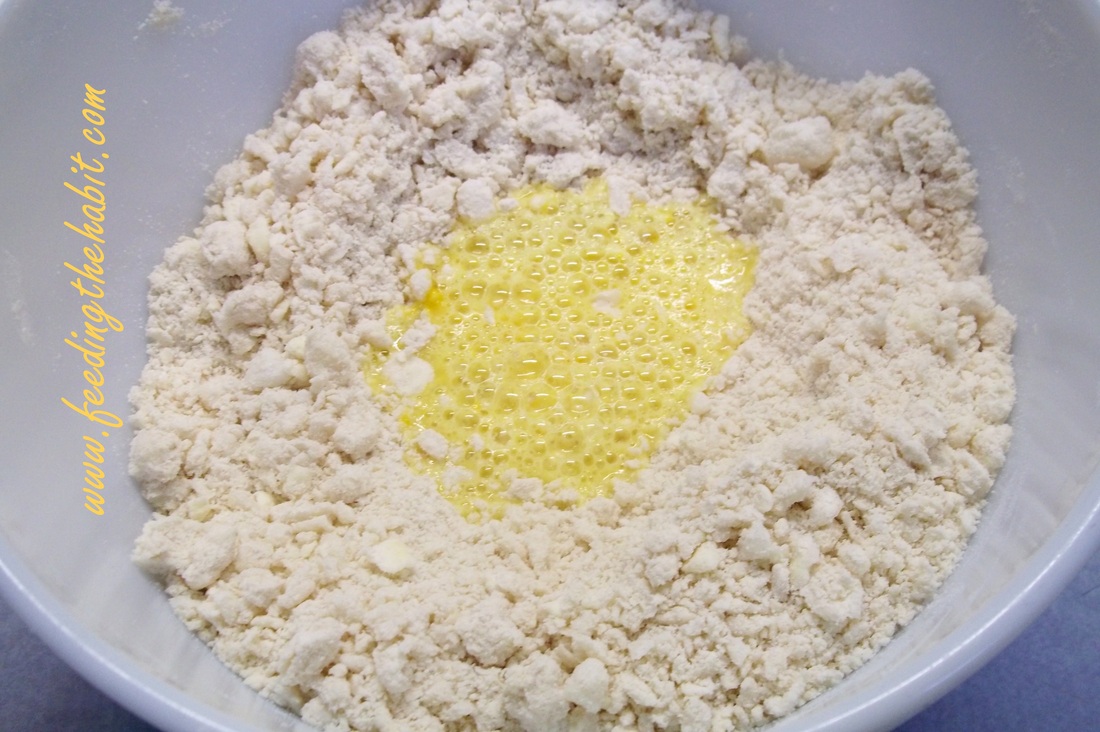
1 egg
5 ½ TBSP ice water
1 teaspoon vinegar
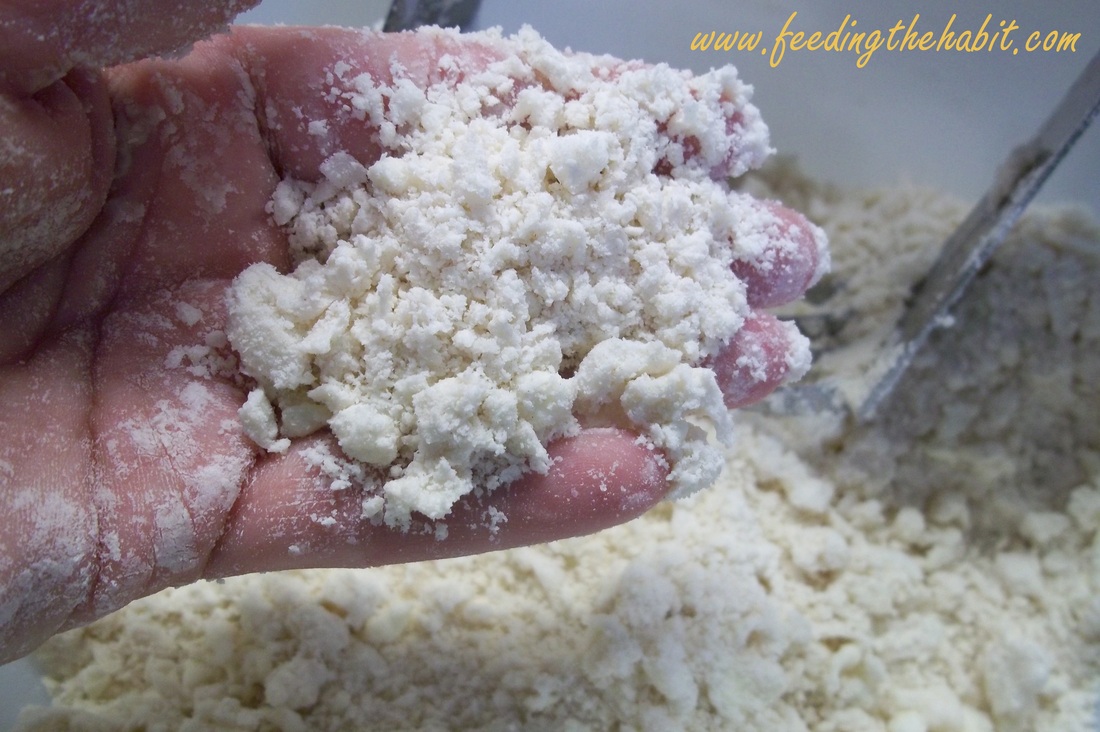
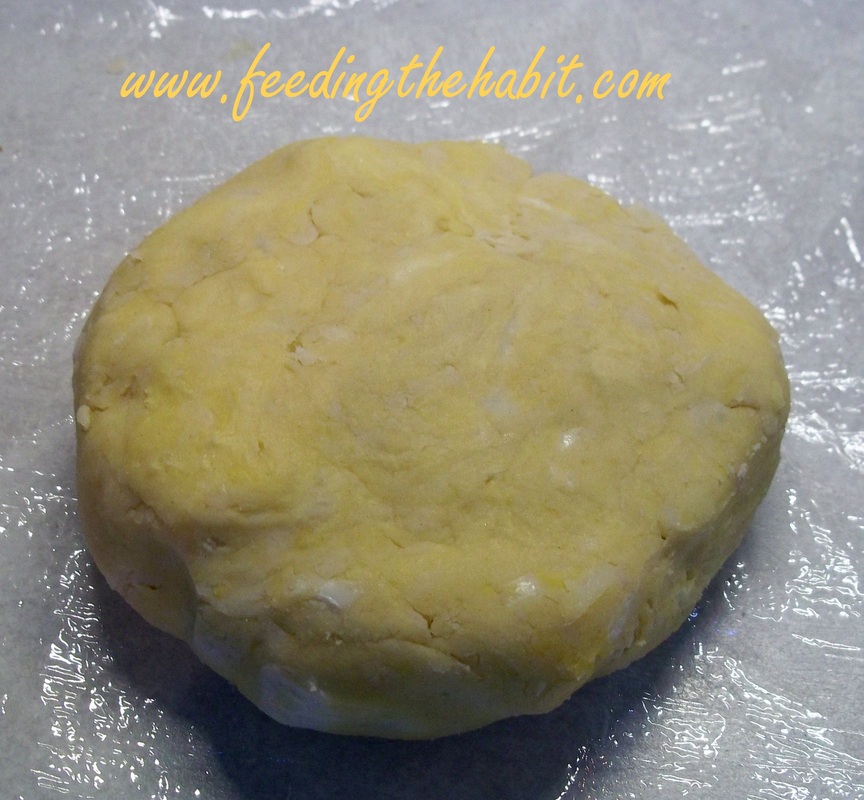
In a large bowl, combine the flour and salt.
Using a knife, shave off pieces of lard and butter into a bowl. Shaved pieces will be easier to cut into the flour.
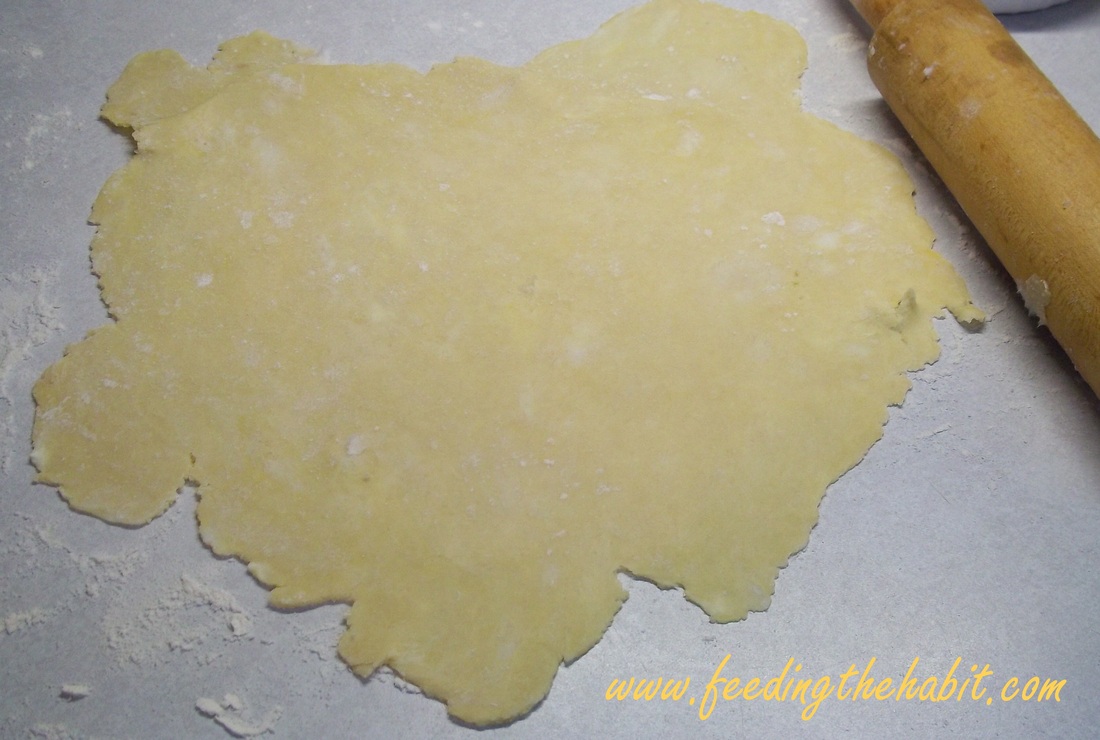
I struggled with making pie for a long time because I couldn’t roll out the crust very well. It would have uneven thicknesses and is typically shaped like Africa or Australia. Then I would have to patch it together. But you know what? Once I read the statement of "you can’t TASTE round" I got over my obsession of creating that perfectly shaped crust. Once I got past that hang up, I got a more even crust too. So there. And isn't really about the taste anyway?
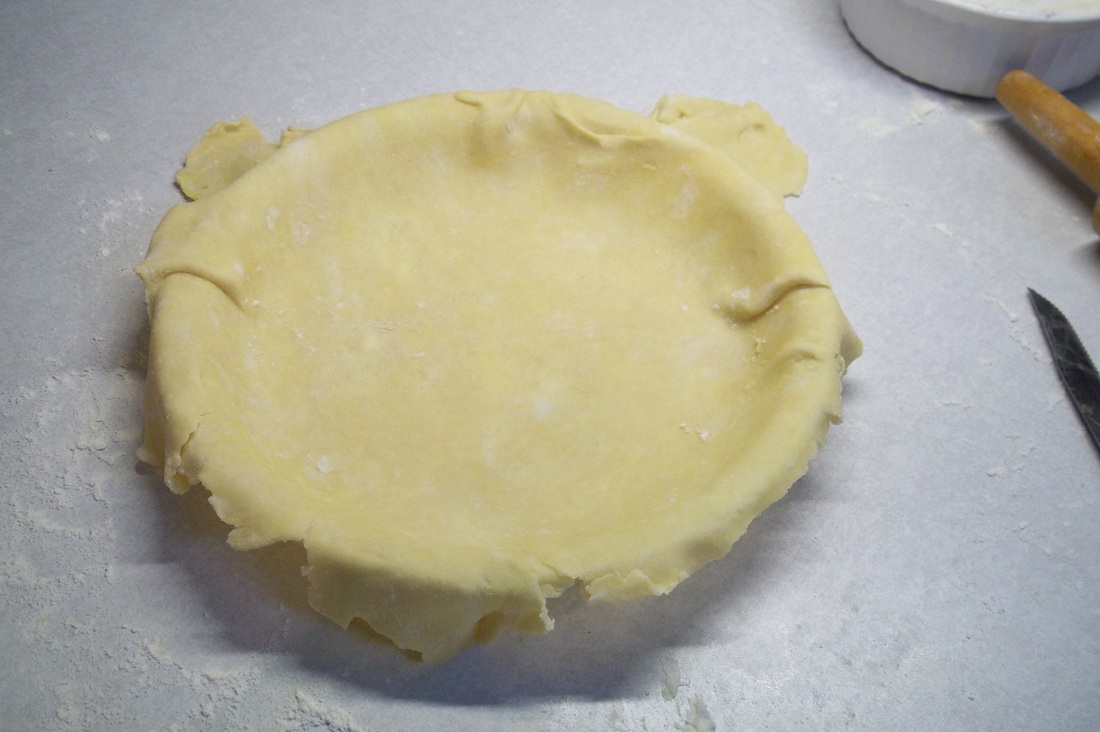
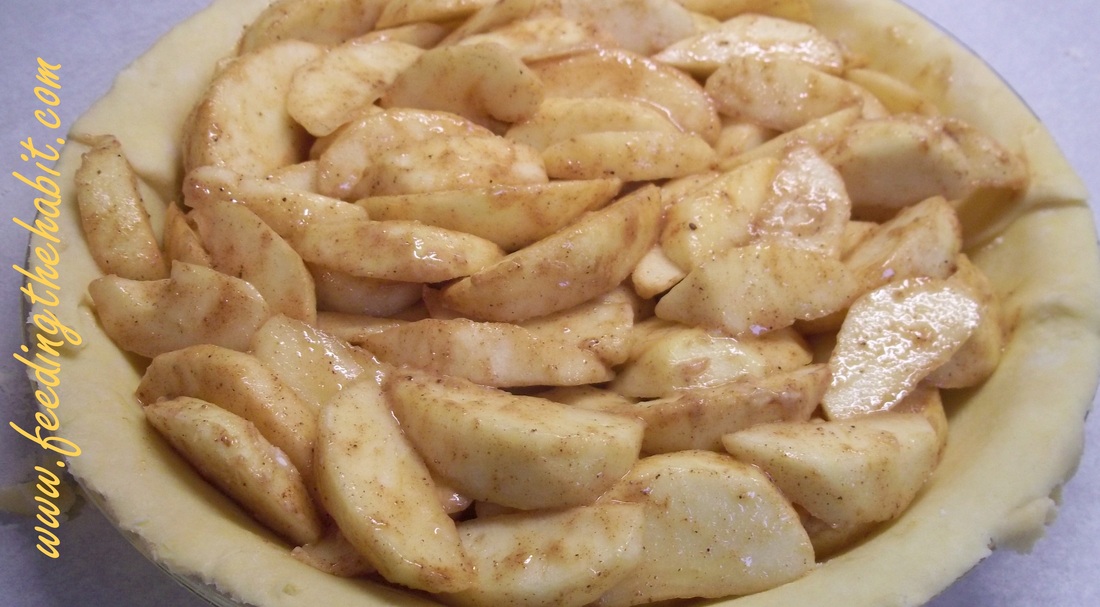
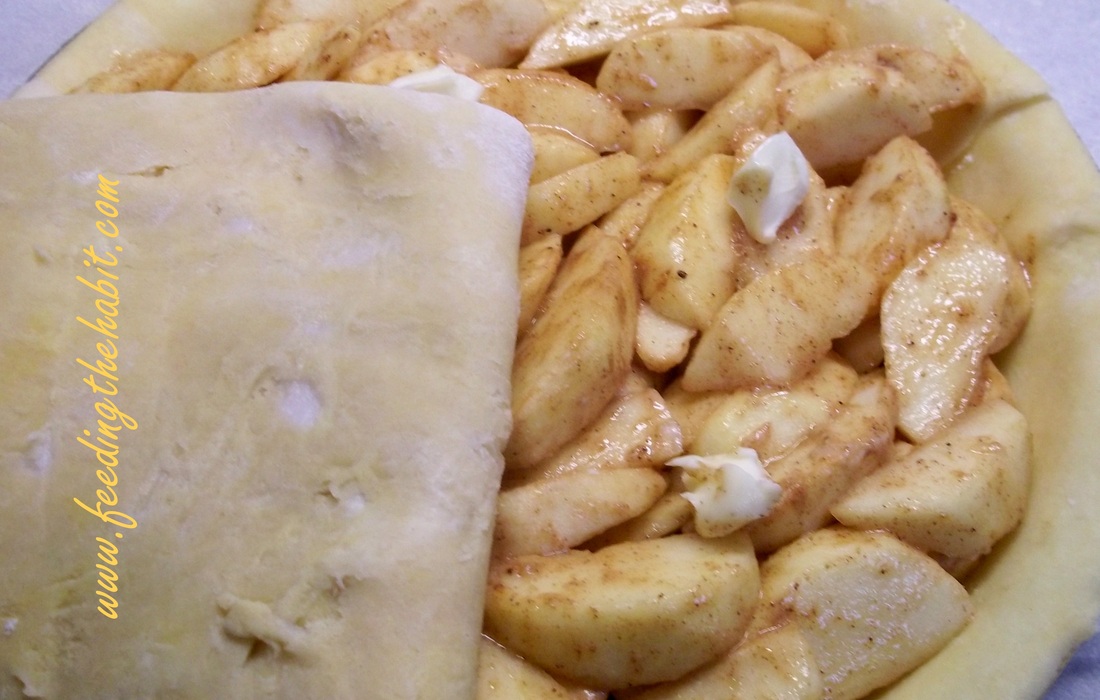
Place the rolled out crust in a glass pie pan.
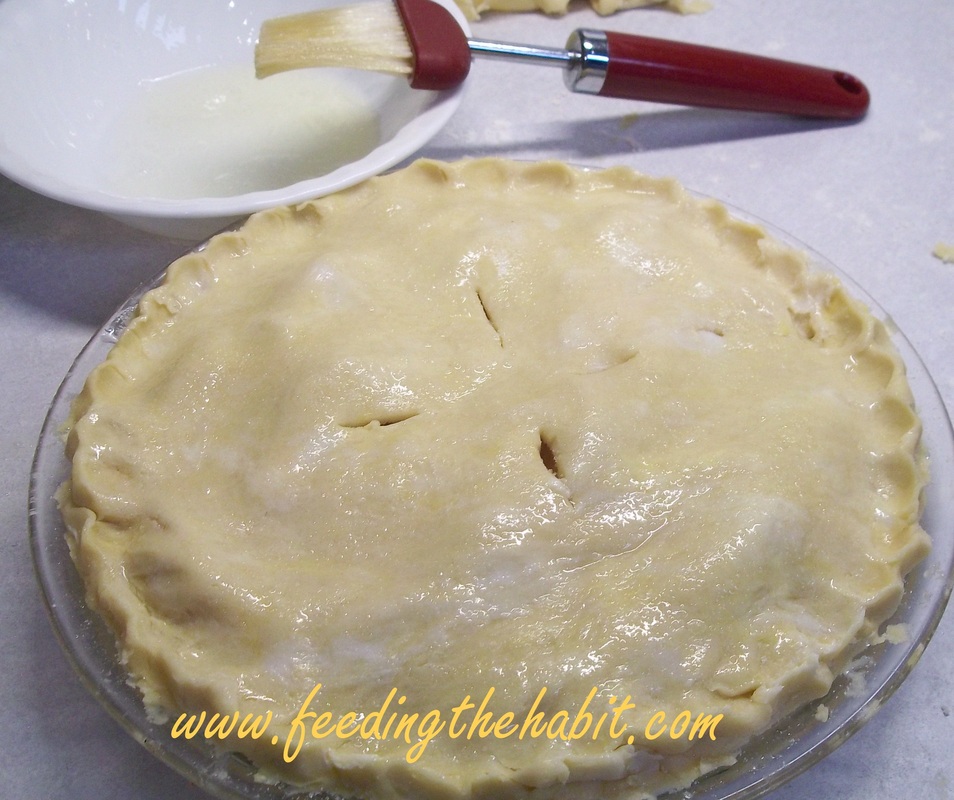
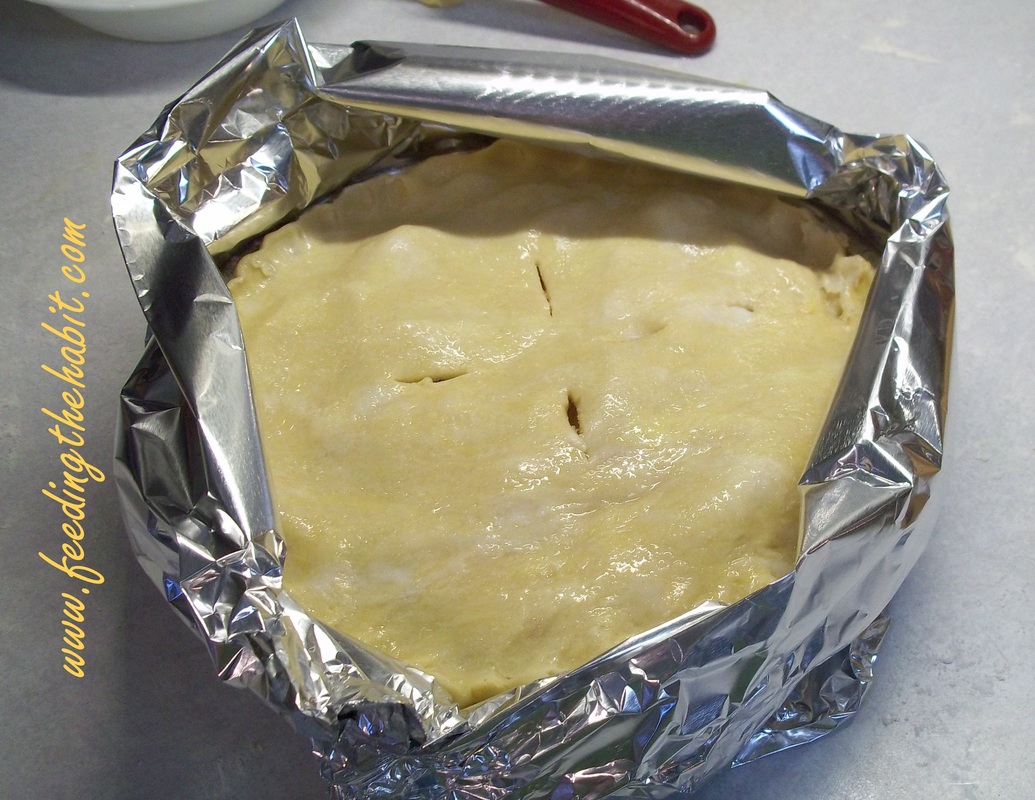
Before placing the pie in the oven, wrap the edges of the pie pan with a strip of tin foil forming a little tin foil shield. Remove and set aside. After the pie bakes for a while, wrap the shield around the edges to prevent over-browning. If you make your shield ahead of time, you won't have to try to form it when the pie is hot.
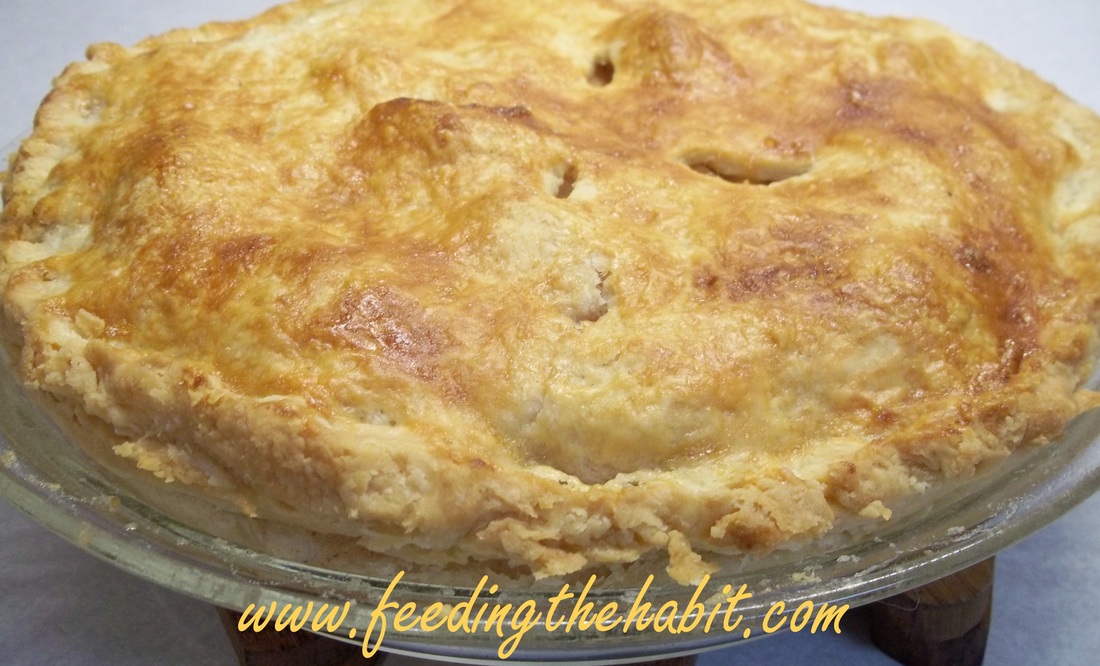
Cool on a rack so the air is able to flow under the pie.
 RSS Feed
